The editor
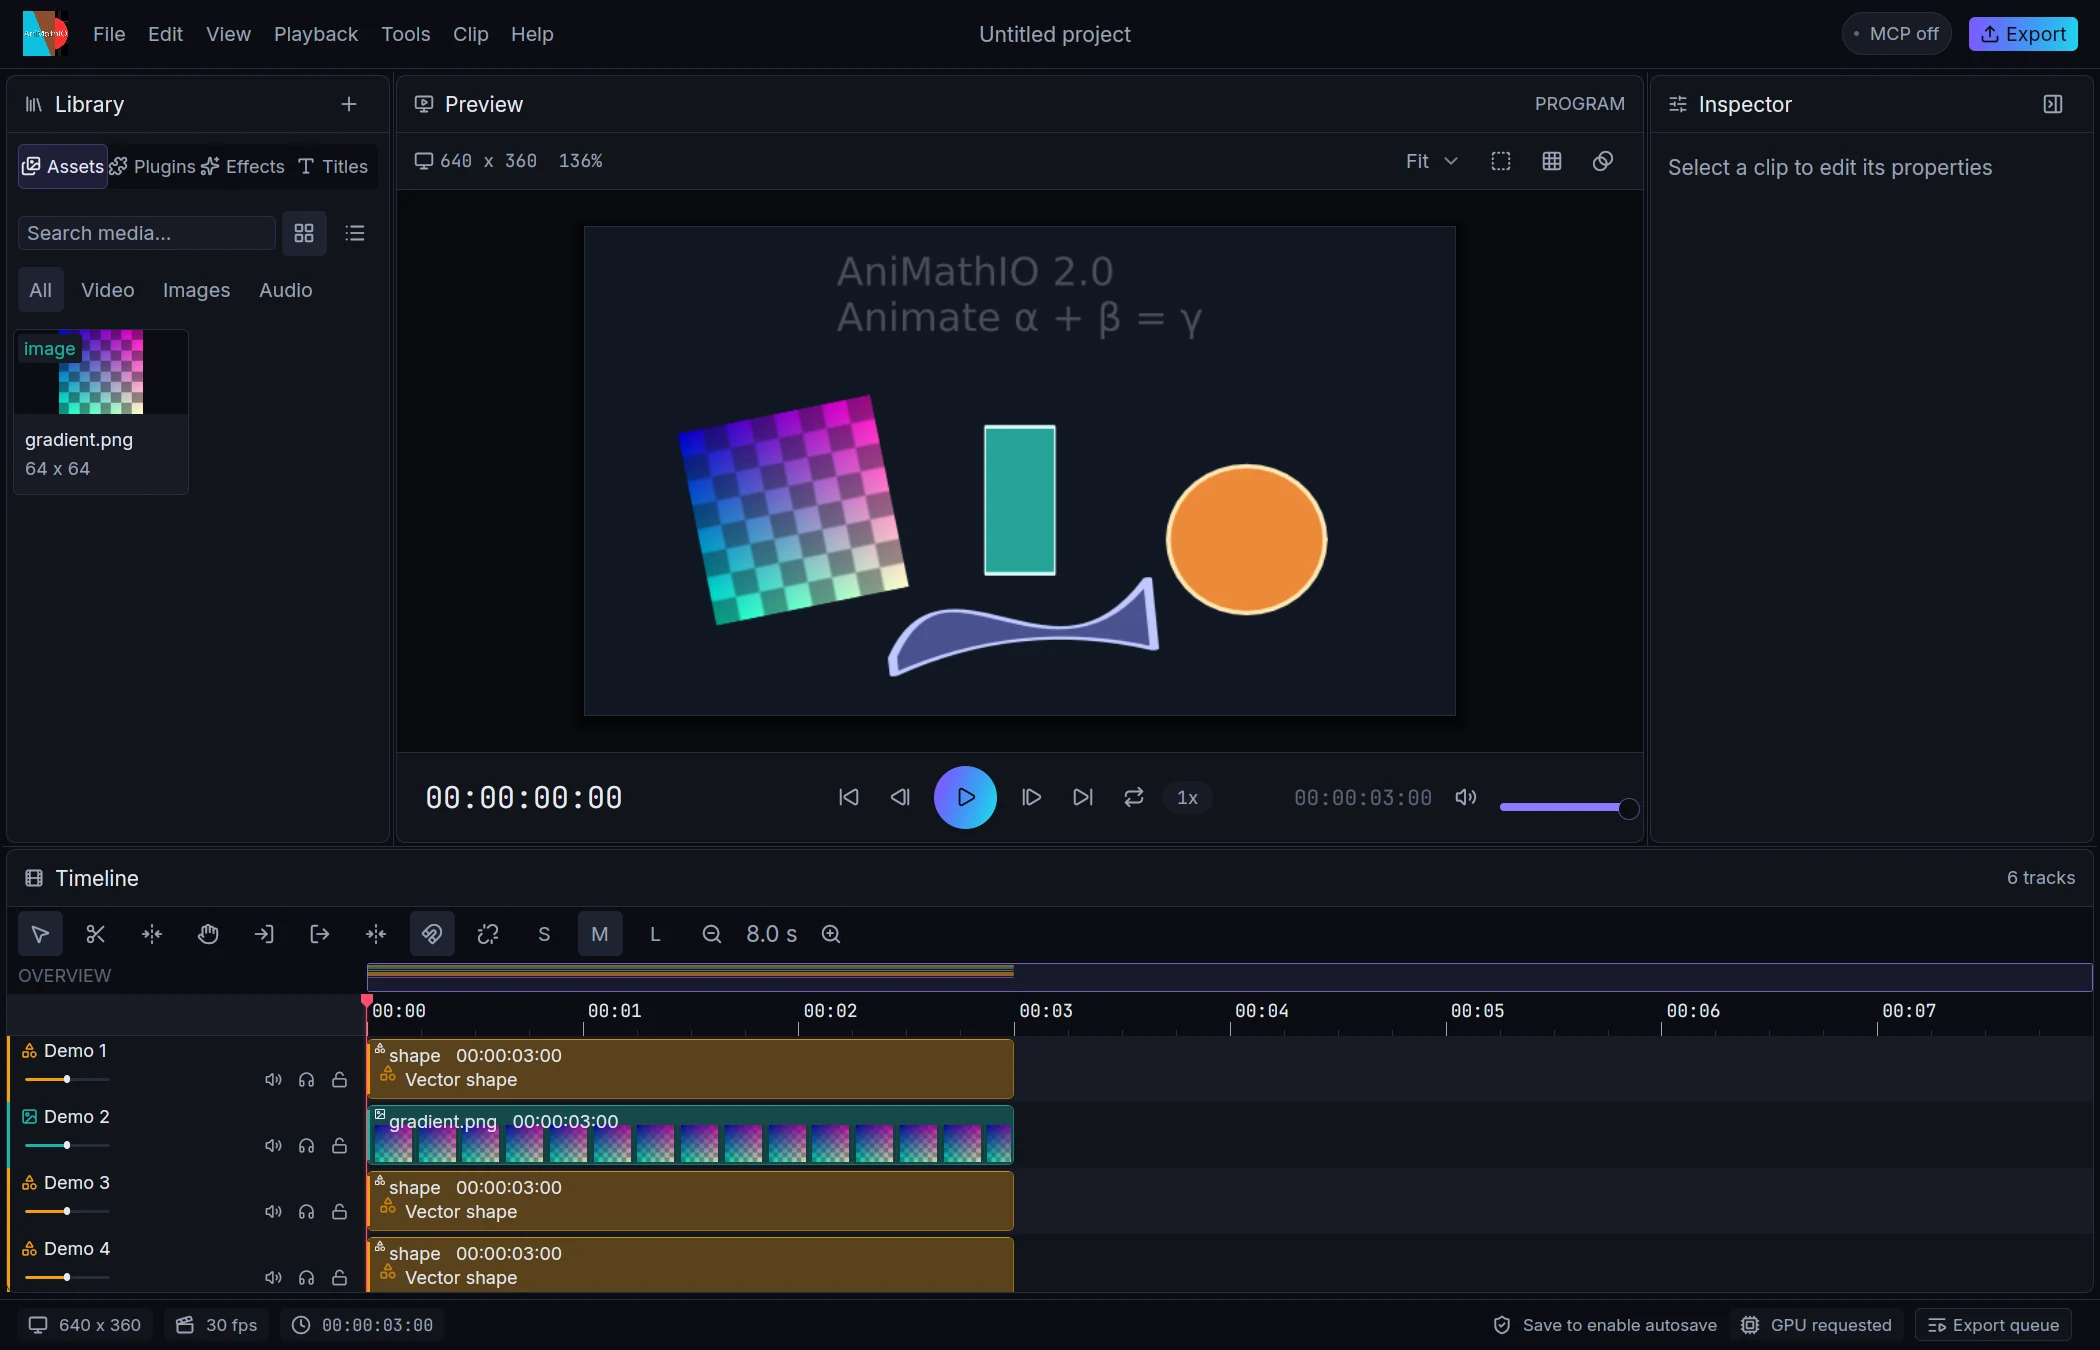
The window is a set of floating panels over a dark background: the Library on the left, the Viewer in the middle, the Inspector on the right and the Timeline underneath. Drag the dividers to resize panels; View toggles them. Layout and track heights persist between sessions. The title bar carries the menus (File, Edit, View, Playback, Tools, Clip, Help), the project name, an MCP listener badge and Export.
Library
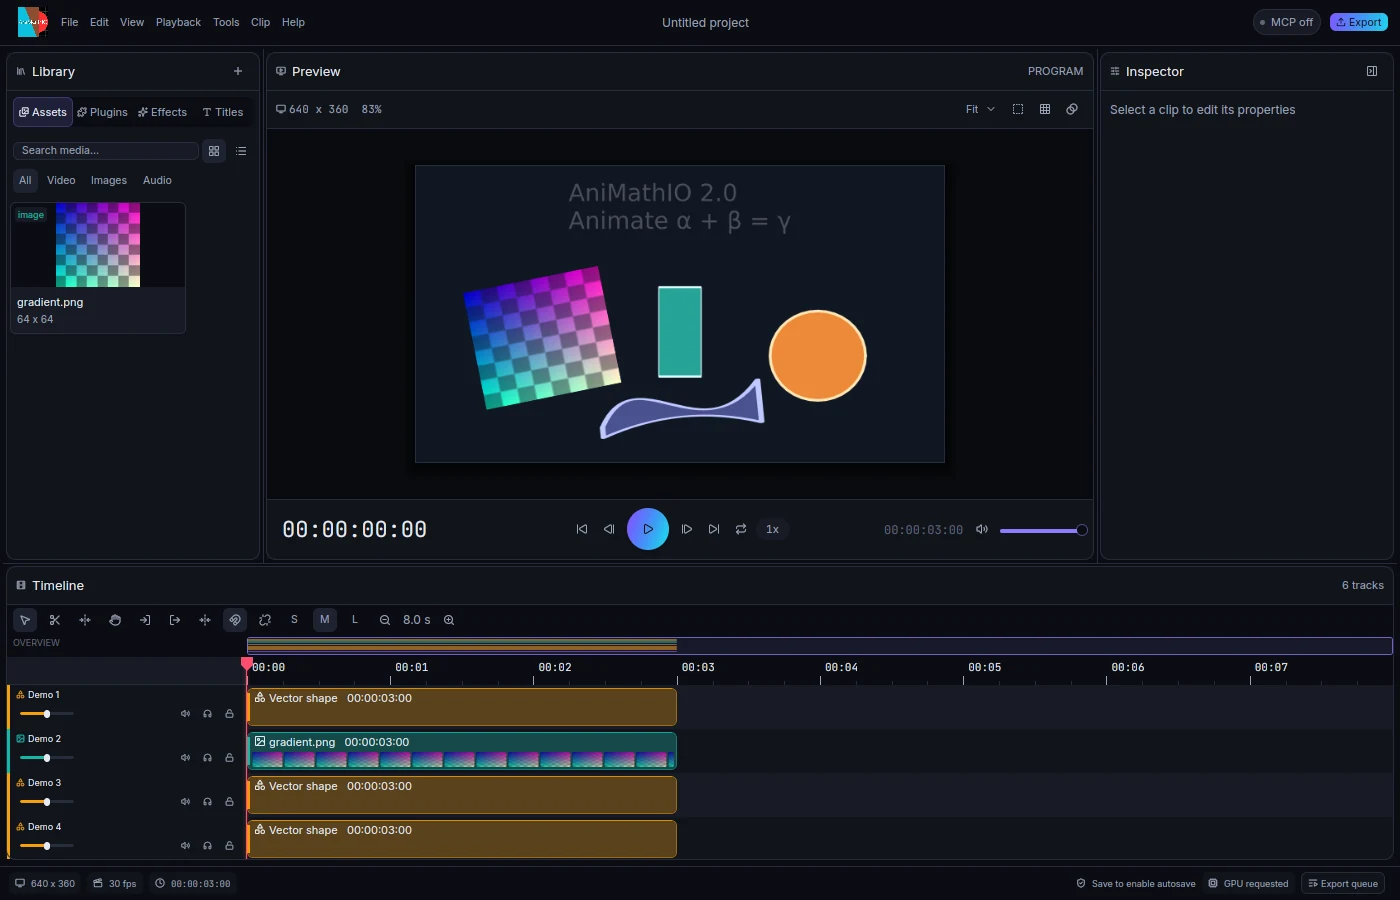
Four tabs share the Library panel:
- Assets: imported media as a grid or list, with search, kind filters, durations, resolutions, audio waveforms and hover scrubbing of video posters. Click a card to add it at the playhead or drag it onto a track. Ctrl+I imports without inserting.
- Plugins and Math: text, shapes, LaTeX and graphs. See Math objects.
- Effects: video and audio effects and animation presets.
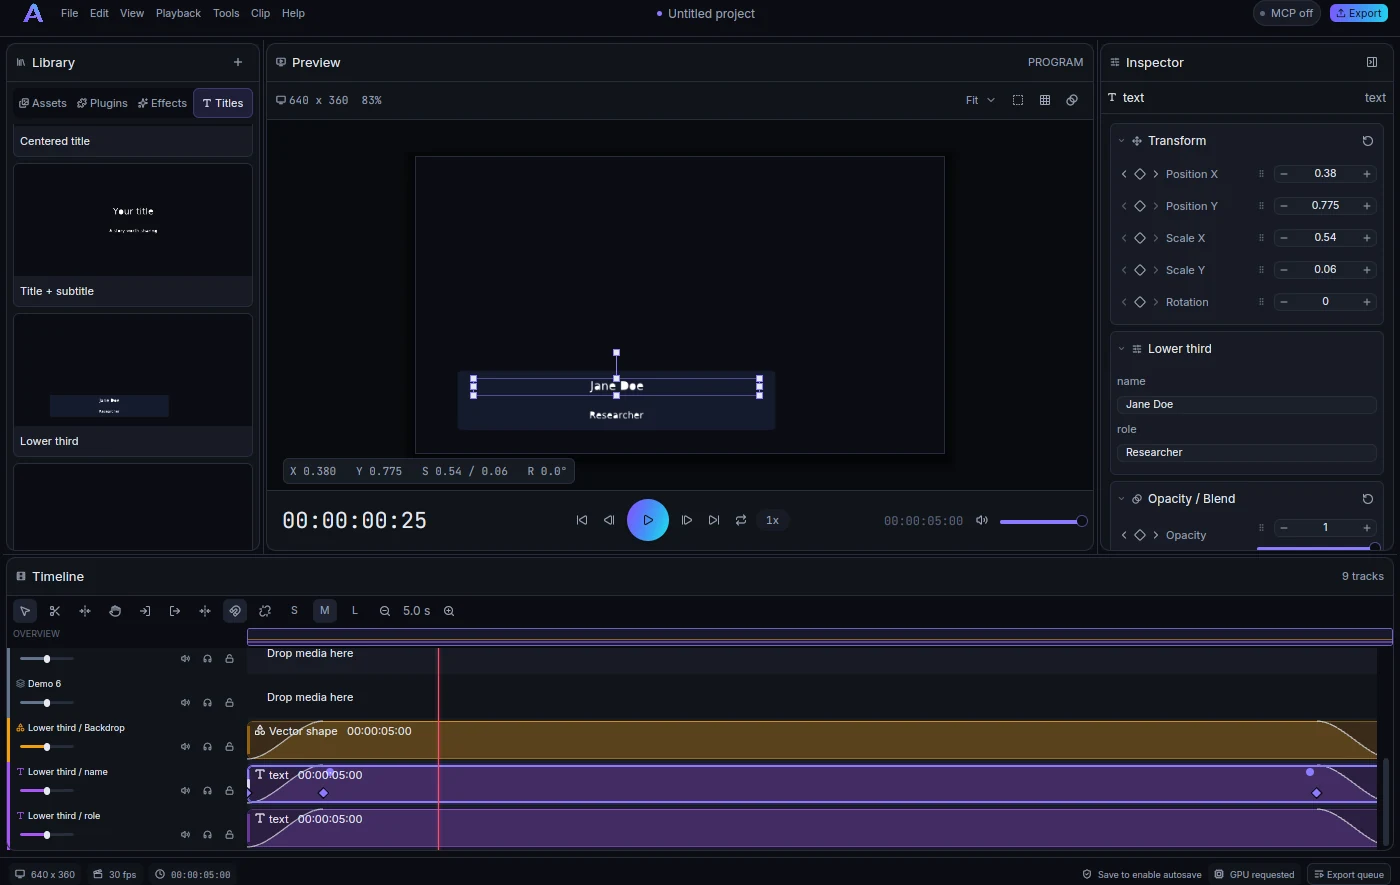
- Titles: eight animated compositions (centered title, title and subtitle, lower third, caption bar, chapter card, end card, kinetic word pop, math title). Double-click to add five seconds at the playhead.
Viewer
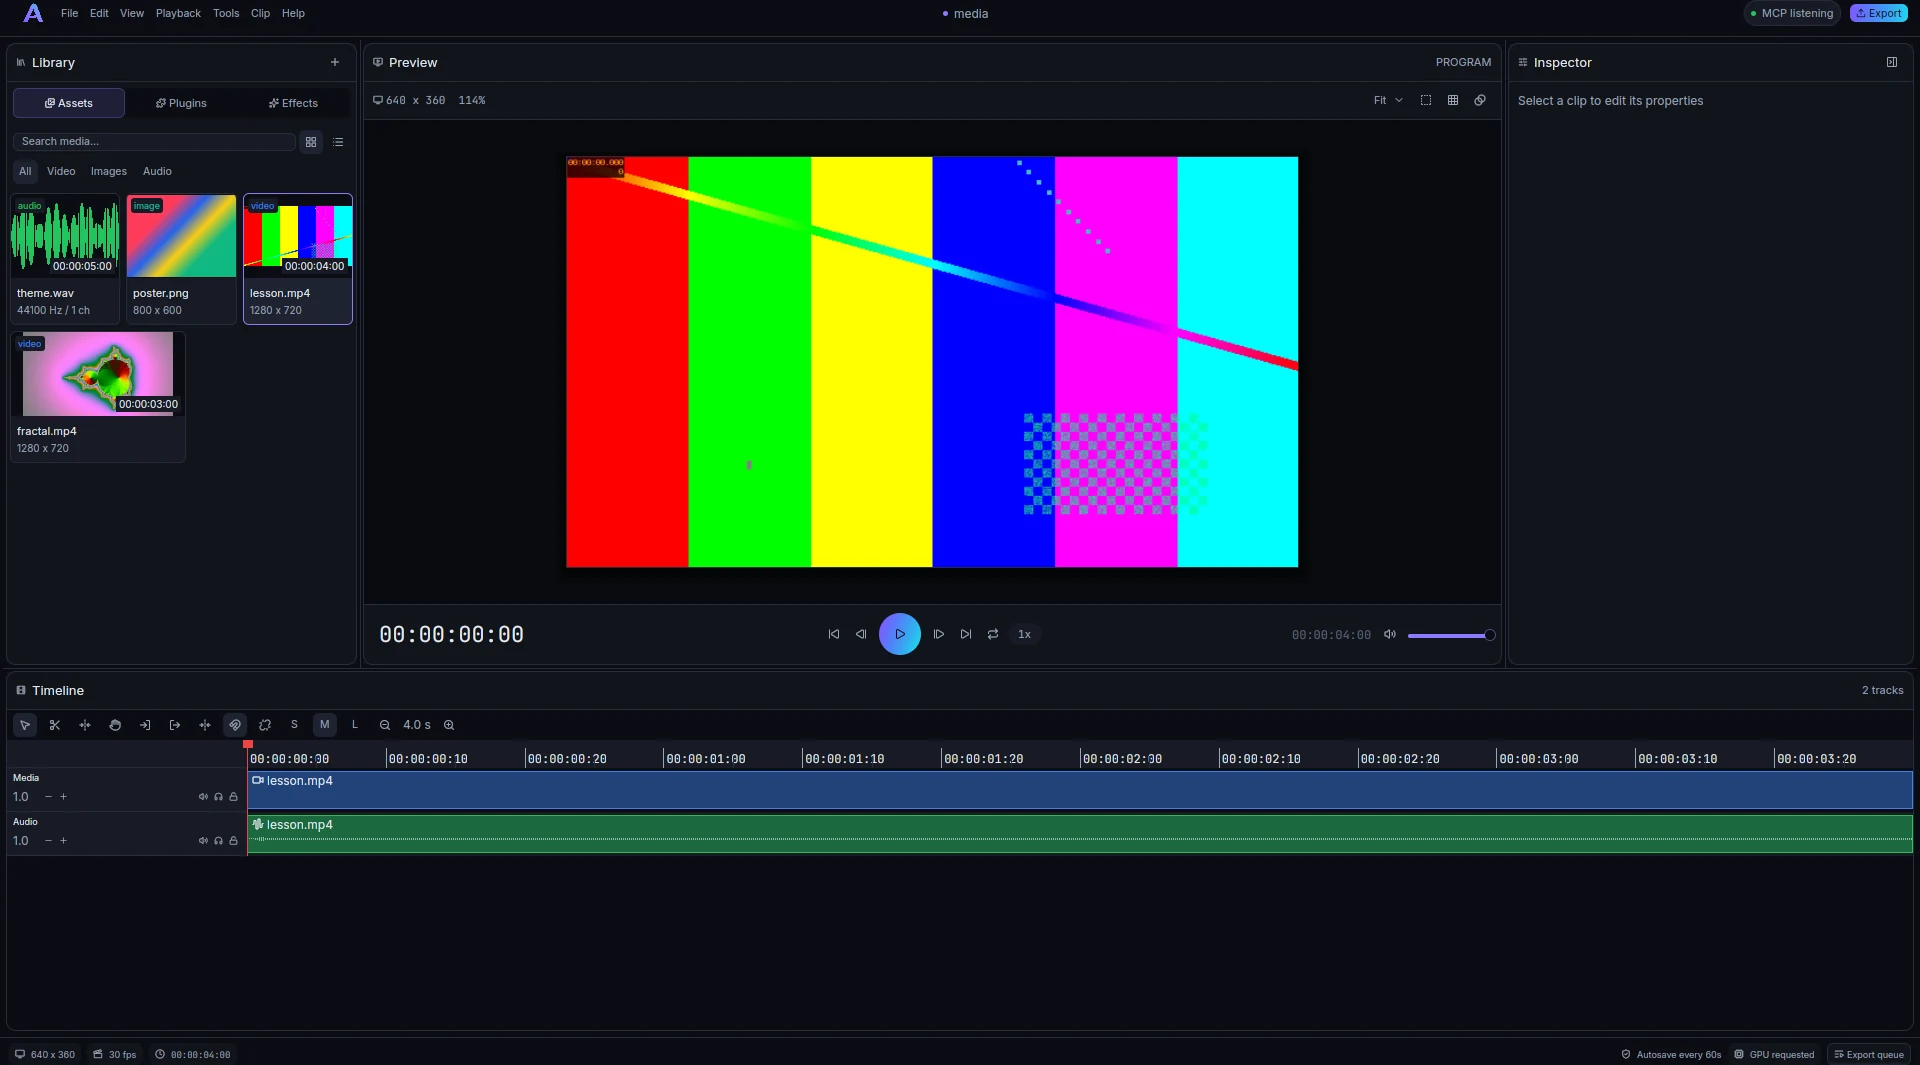
The selected clip shows a transform gizmo: drag inside to move (snapping to the canvas centre and edges), drag a corner or edge to scale (Shift keeps the aspect ratio), and drag the handle above the box to rotate (Shift snaps to 15 degrees). A drag previews without touching the history and lands as one undo step. Clicking the canvas selects the topmost clip under the pointer; Alt-click cycles through the stack.
The viewer header has zoom, safe-area, rule-of-thirds and checkerboard toggles. The transport shows a large timecode (click it to type one), edit and frame stepping, play, loop and the shuttle-speed badge.
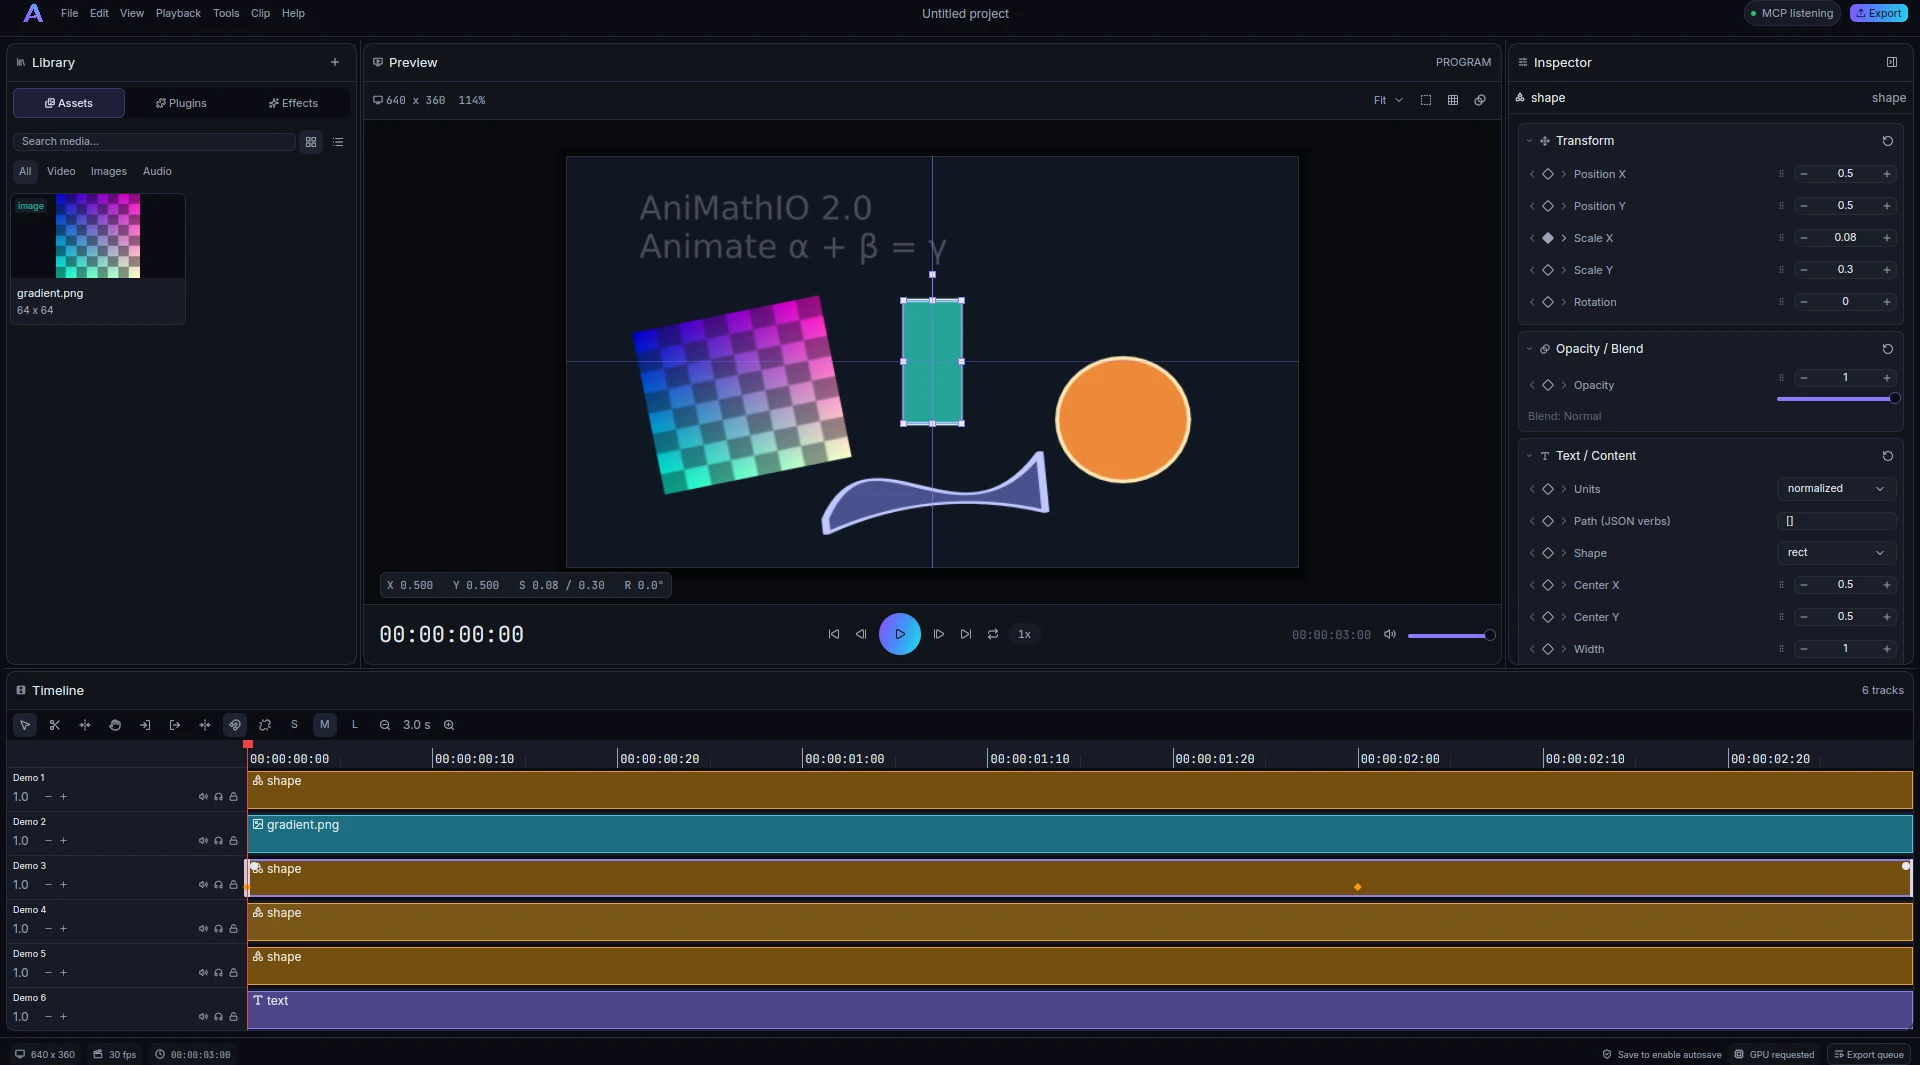
Inspector
Sections are collapsible cards with a reset button each. Drag a field label to scrub a value (Shift for fine, Ctrl for coarse) as one undo step. Every animatable property has a keyframe diamond with previous and next key arrows. With several clips selected, the Transform fields edit all of them at once. Rotation is shown in degrees. Opacity sits under Compositing; Speed, Animations, Effects and Audio have their own sections.
A clip whose effect plugin is not loaded gets an amber warning badge in the timeline, a warning row in the inspector and a toast.
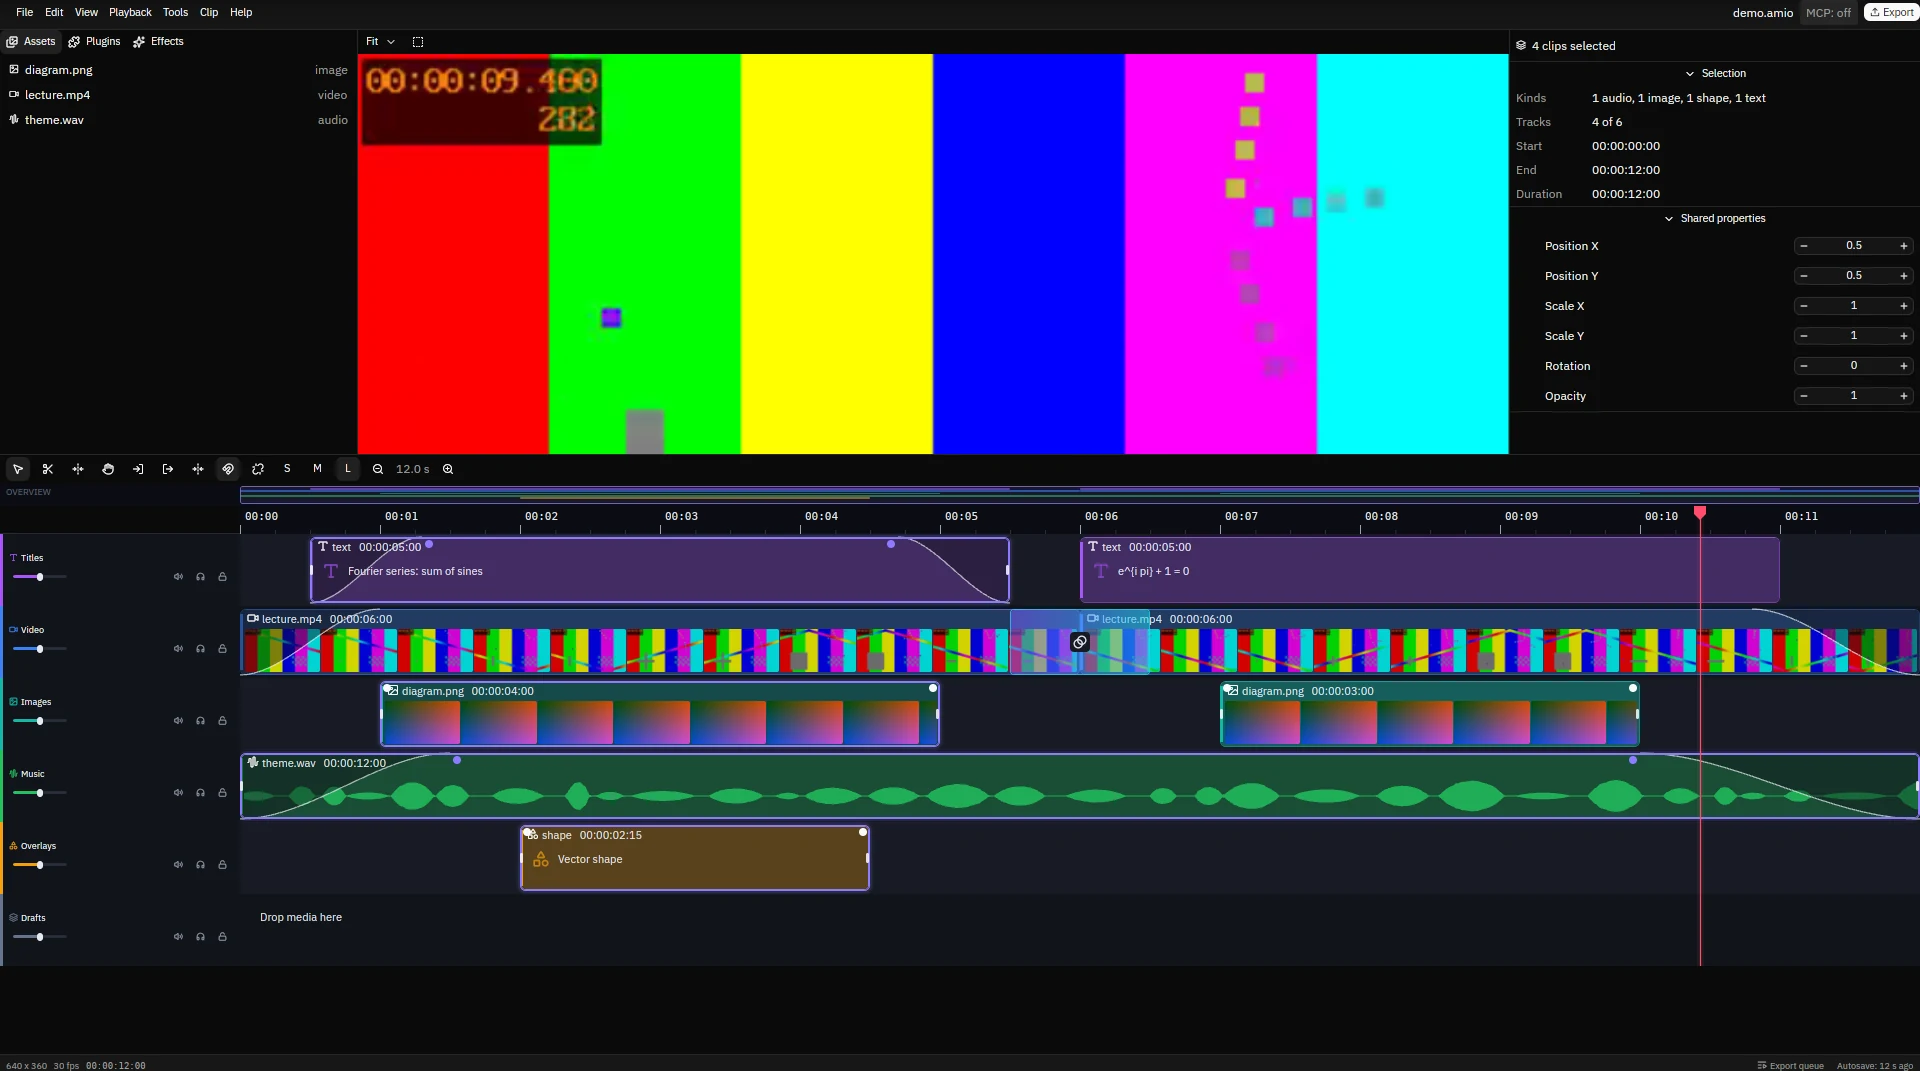
Timeline
Clips are coloured by kind and show filmstrips, filled audio waveforms, text and LaTeX snippets, fade curves and transition windows. Track headers have mute, solo, lock and a gain slider; double-click a name to rename a track. The pentagon playhead shows a timecode pill while scrubbing, the in and out range is shaded, and an engaged snap draws a yellow guide.
Tools follow Premiere Pro: Select (V), Blade (C), Ripple trim (B), Rate stretch (R), Slip (Y), Slide (U), Rolling edit (N) and Hand (H). Ctrl+K adds an edit, Q and W ripple-trim to the playhead, J, K and L shuttle, and I and O set the in and out points. Each drag is one undo step. The full table is on Keyboard shortcuts.
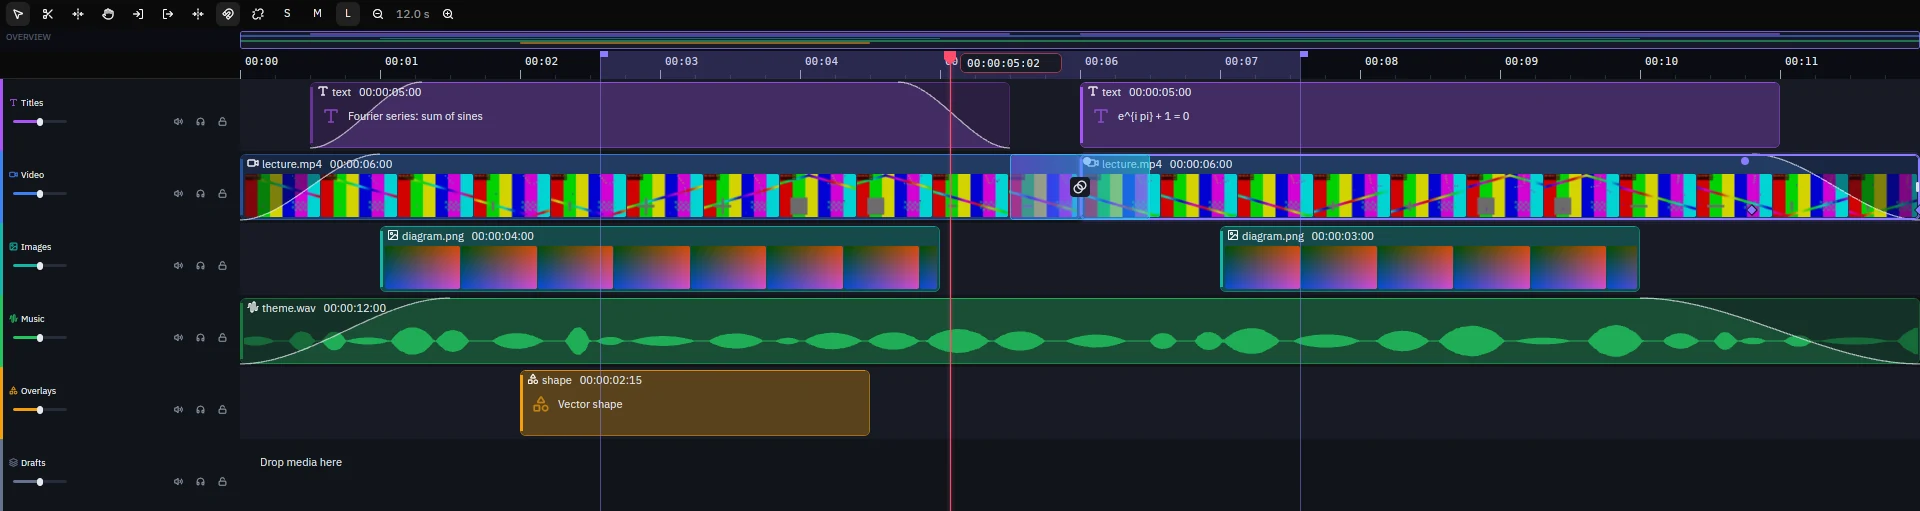
Press M to drop a marker; markers snap and ride along with ripple edits. They also drive beat sync.
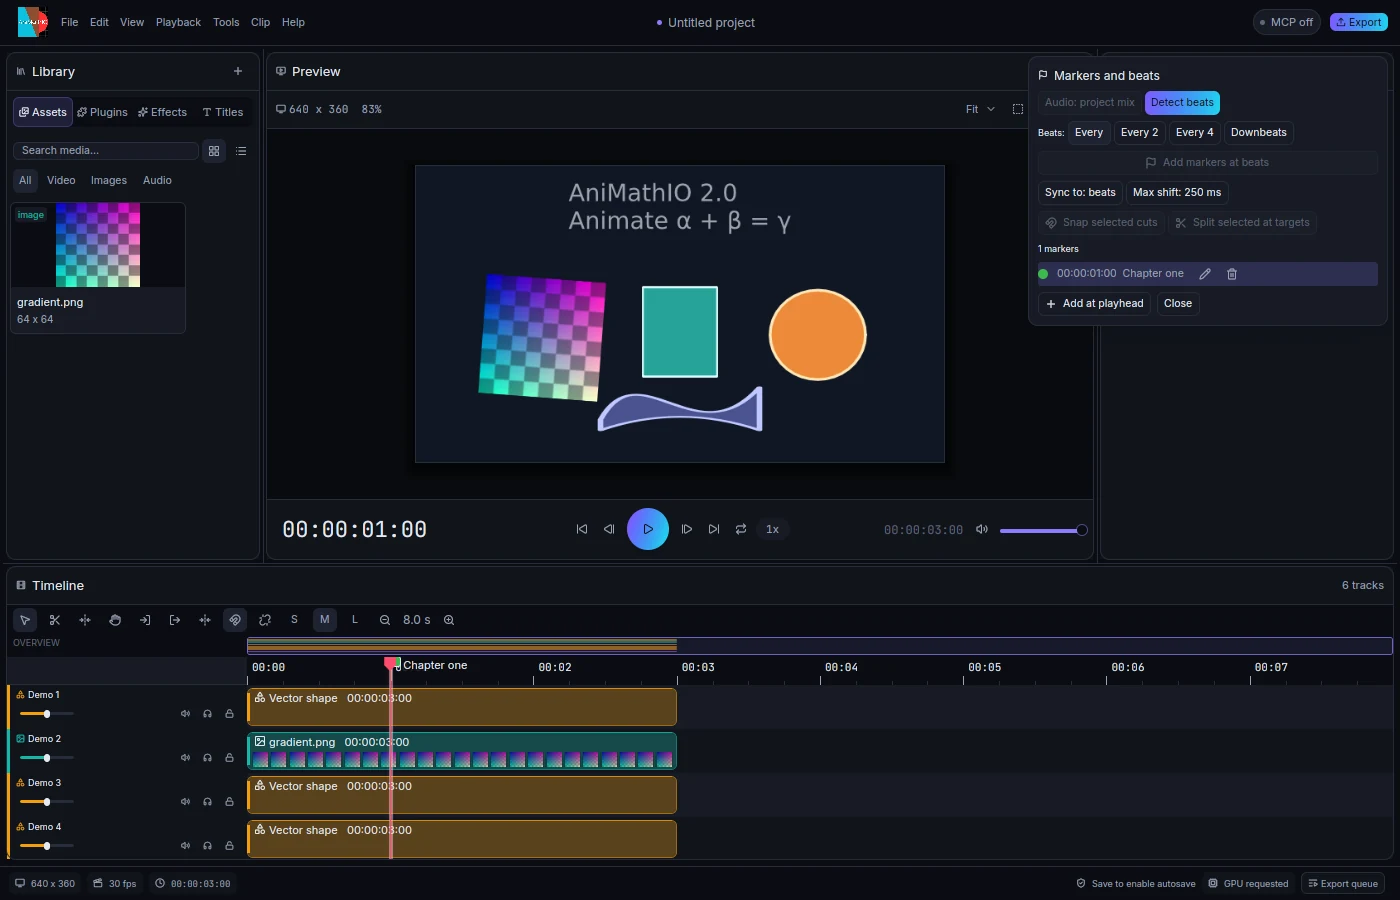
Speed and retiming
Select a clip and open Clip, Speed/Duration (Ctrl+R), or use the inspector's Speed section. Set 6.25 to 1600%, reverse, a duration in frames or linear ramp keys. Linked audio follows with varispeed. Insert frame hold segment splits at the playhead and inserts a held picture. See the retiming rules.
Media fit
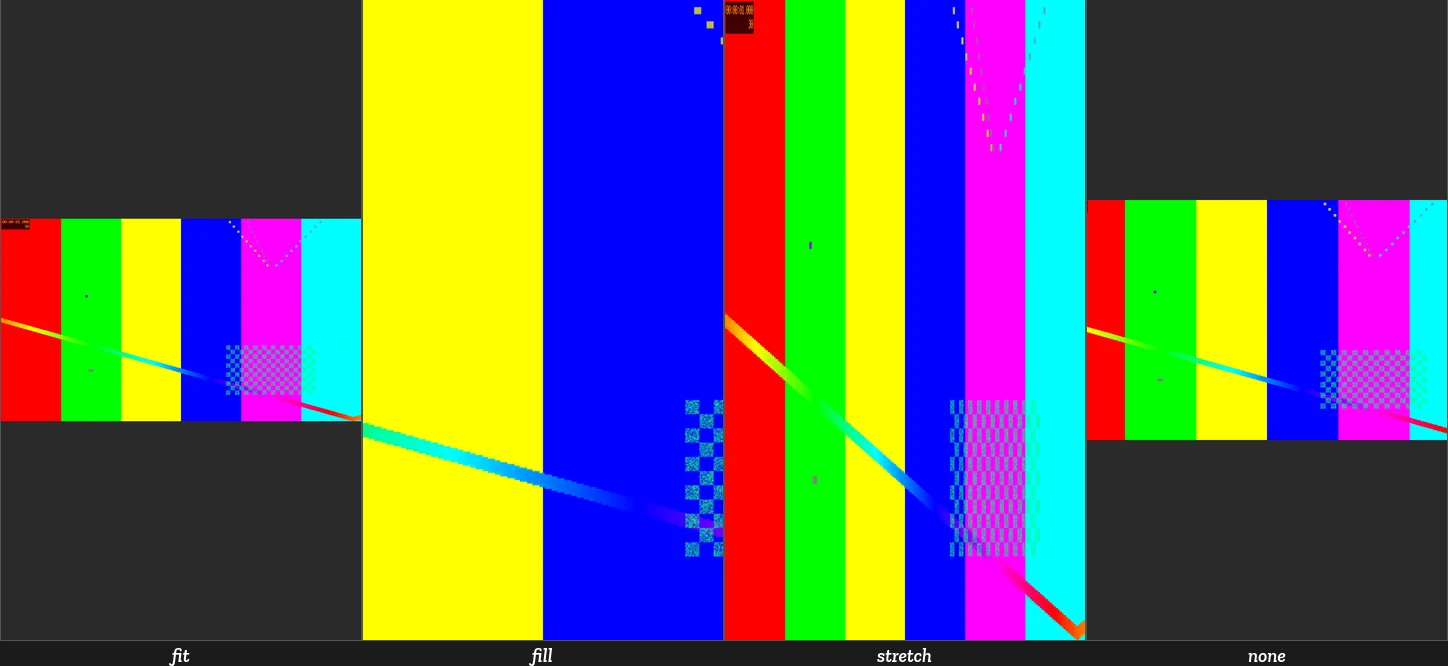
Image and video clips have a Fit mode: Fit (contain), Fill (cover), Stretch or 1:1. It is identical in the CPU and GPU renderers and is used by the gizmo and hit testing.
Export
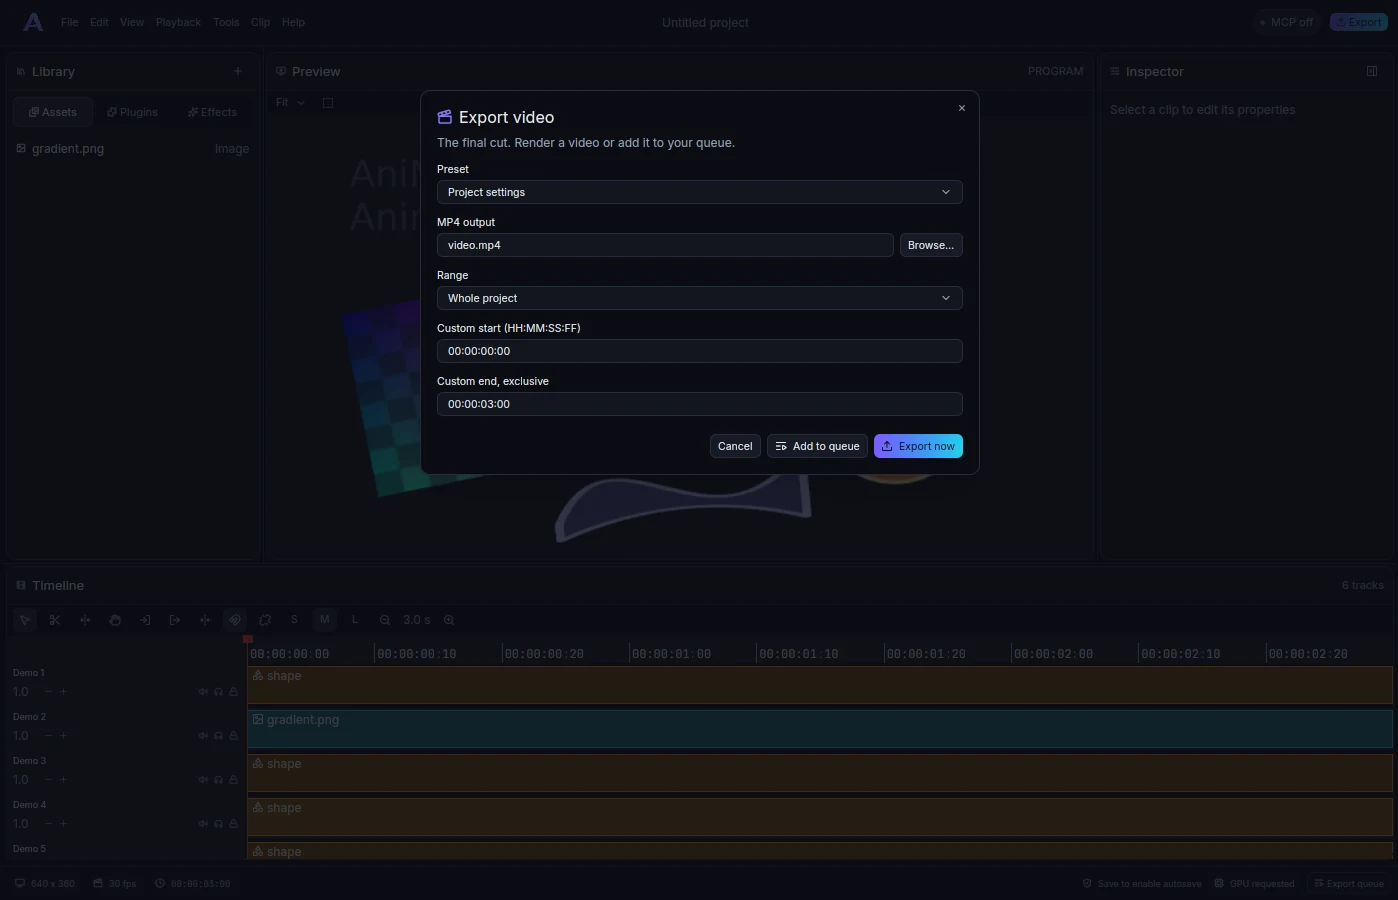
Export opens a form with an MP4 path chooser, whole project, in and out range or a custom range, and the
presets youtube_1080p, youtube_4k, shorts_vertical, square and portrait. Presets apply to a snapshot
of the project and leave project settings unchanged. Add to queue or Export now snapshots the project
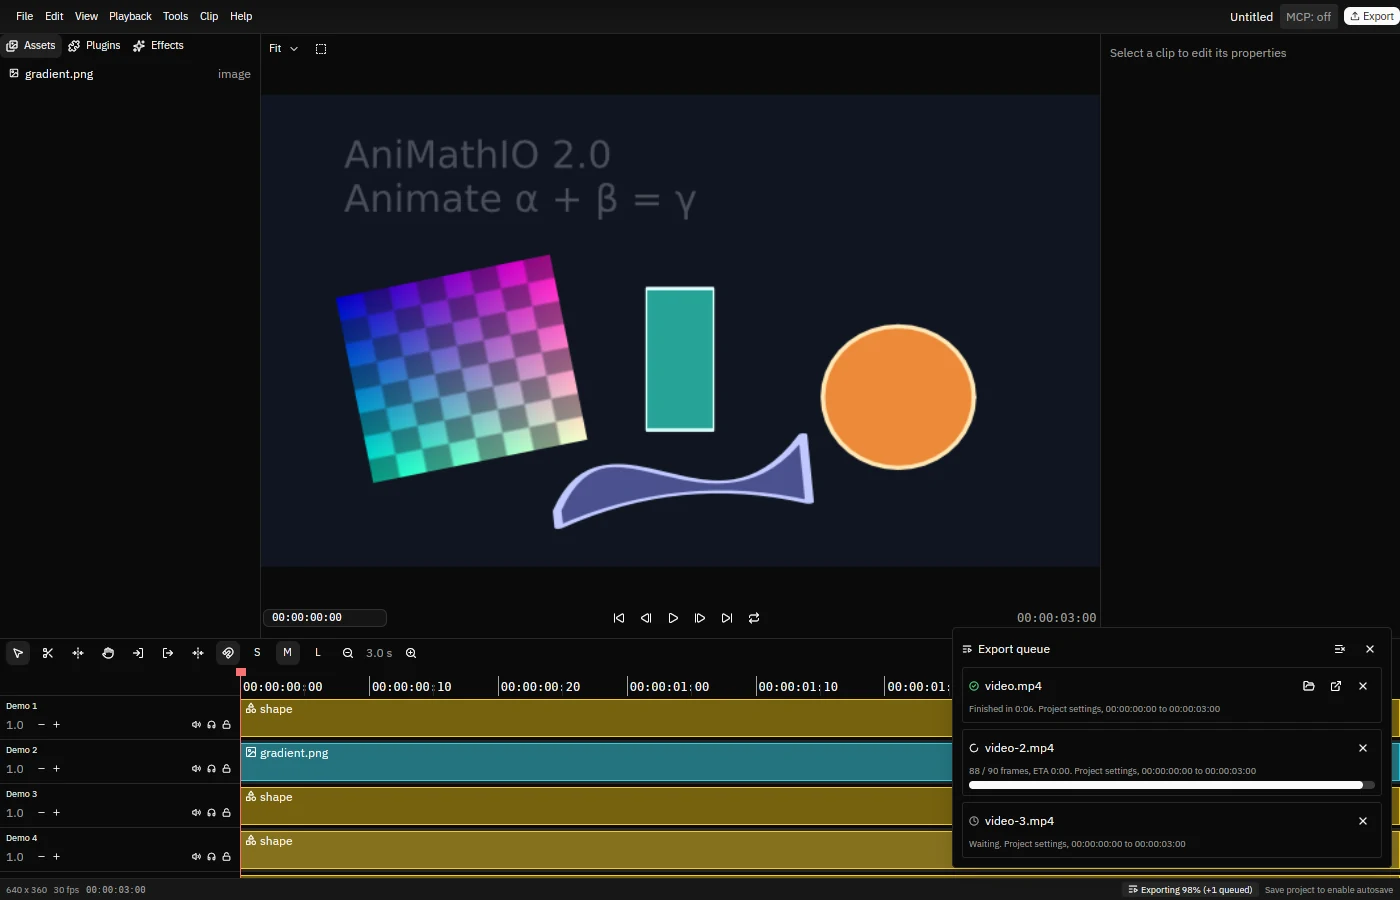
into a job; the export queue (status bar) runs jobs one at a time with progress, ETA and cancel.
Preferences
Preferences (Ctrl+,) saves the preview renderer (GPU or CPU), the autosave interval, the default export
folder, density, reduced motion and the UI scale (the desktop text scale by default, or 80 to 200%).
ANIMATHIO_UI_SCALE=150 overrides the scale for one run. Preferences are stored separately from projects.